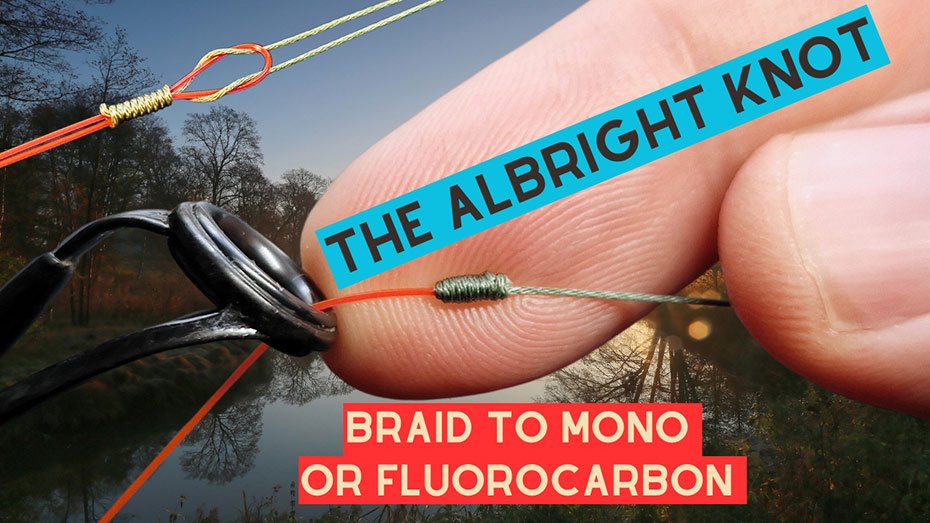
Tying the Albright Knot is an essential skill for any angler looking to connect two different types of fishing lines, such as braid to mono or fluorocarbon. This reliable knot provides a secure connection, ensuring that your lines stay solid and intact during your fishing adventures. Whether using braid, monofilament, or fluorocarbon, this guide will quickly tie the Albright Knot.
Understanding the Albright Knot
Before we dive into the step-by-step instructions, let’s take a moment to understand the Albright Knot. This knot is handy when joining two lines with different diameters or materials, like braid and monofilament. It creates a smooth and streamlined connection, minimizing the risk of snagging or breaking when reeling in that big catch.
Materials You’ll Need
- Braid or monofilament line
- Fluorocarbon line (optional)
- Your fishing gear
Step 1: Choose Your Lines
The beauty of the Albright Knot is its versatility. You can use braid and monofilament, which works well if you prefer fluorocarbon. Select the lines that best suit your fishing needs and the type of fish you’re targeting.
Step 2: Form a Loop
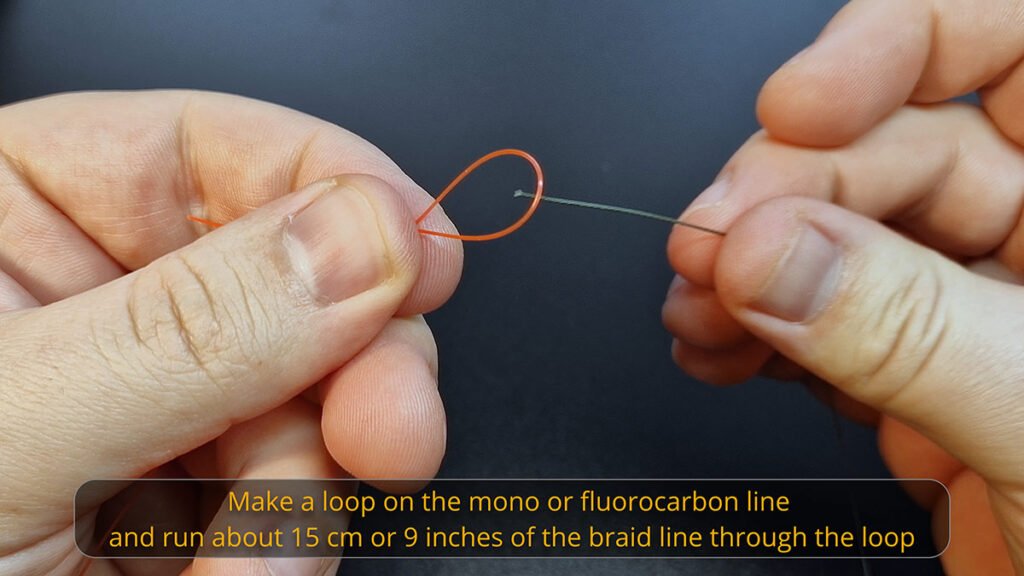
Begin by making a loop on the mono or fluorocarbon line. This loop will serve as the foundation for your Albright Knot. Leave approximately 15 centimetres or 9 inches of the braid line extending through the loop. This excess line is crucial for a strong connection.
Step 3: Hold and Wrap
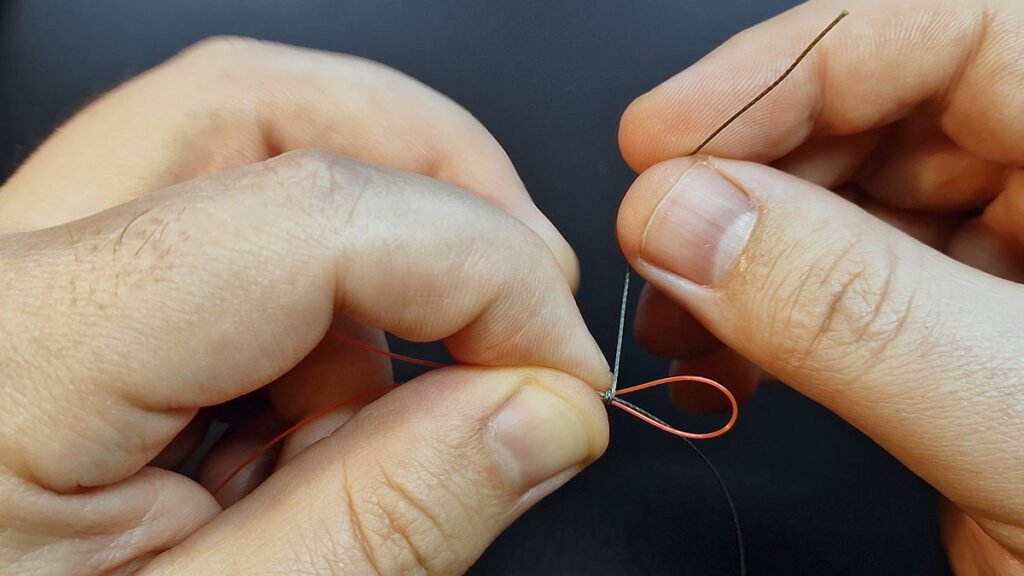
Hold the three lines between your fingers: the braid line, the mono (or fluorocarbon) loop, and the extended mono line. Next, wrap the braid line back over itself and both strands of the mono loop towards the loop’s base. The number of wraps you need may vary depending on the thickness of the lines you use. Typically, 6 to 10 wraps should be sufficient.
Step 4: Avoid Overlapping
Ensure neat alignment and no overlapping of braid line wraps. Overlapping can weaken the knot, so maintaining a clean, parallel wrap is crucial for a strong connection.
Step 5: Exit Strategically
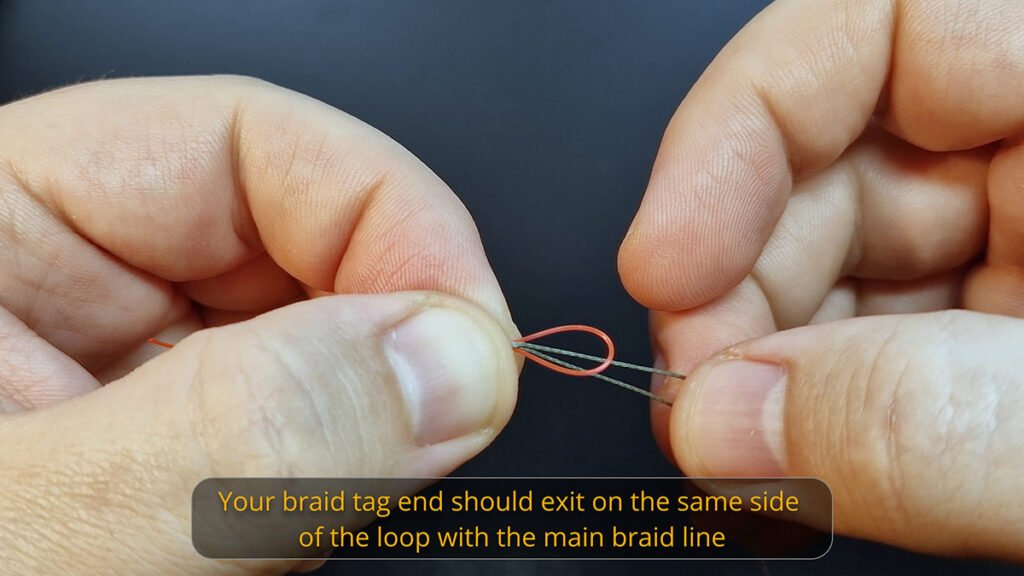
Once you’ve completed the wraps, ensure the braid tag end exits on the same side of the loop as the main braid line. This alignment ensures that the knot cinches correctly and holds securely.
Step 6: Slide and Moisten
Gently slide the wraps towards the end of the loop while holding the tag end. Before you tighten the knot completely, moisten the wraps with a bit of water. This lubrication will help the knot slide smoothly and reduce the chances of friction-induced damage.
Step 7: Pull tight and Trim
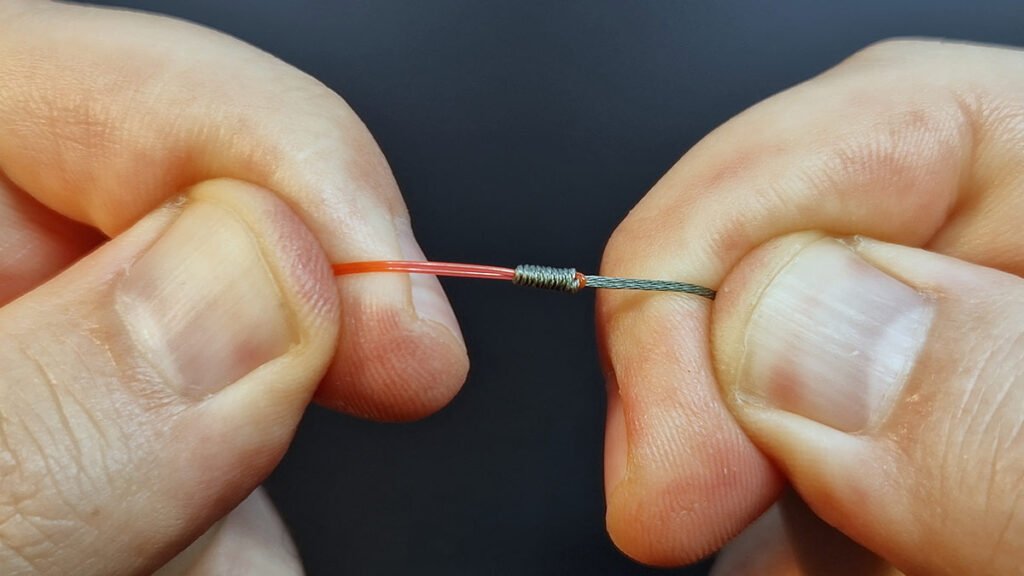
Now, it’s time to secure the knot. Pull the tag end of the braid line firmly, gradually tightening the wraps. The loop forms a neat connection as the knot cinches down. Tie the knot tightly and trim the tag ends flush with fishing line clippers for a clean finish.
Congratulations! You’ve successfully tied the Albright Knot, creating a sturdy link between your braid and mono (or fluorocarbon) lines. With this knot in your repertoire, you can confidently fish, knowing your lines are securely connected.
Our Step-By-Step Tutorial On How to Tie the Albright Knot for Braid to Mono or Fluorocarbon:
Conclusion
Mastering the Albright Knot is a valuable skill for any angler. It opens up new possibilities for your fishing experiences, allowing you to experiment with various line combinations while maintaining the strength and reliability needed for a successful catch.
